
The Complete Codex Guide: Getting Started Plus Three Ways to Use It from China
An open-source, free hands-on Codex guide is out, covering desktop installation, remote control from your phone, and three access paths for users in China, helping you get OpenAI Codex running from zero.
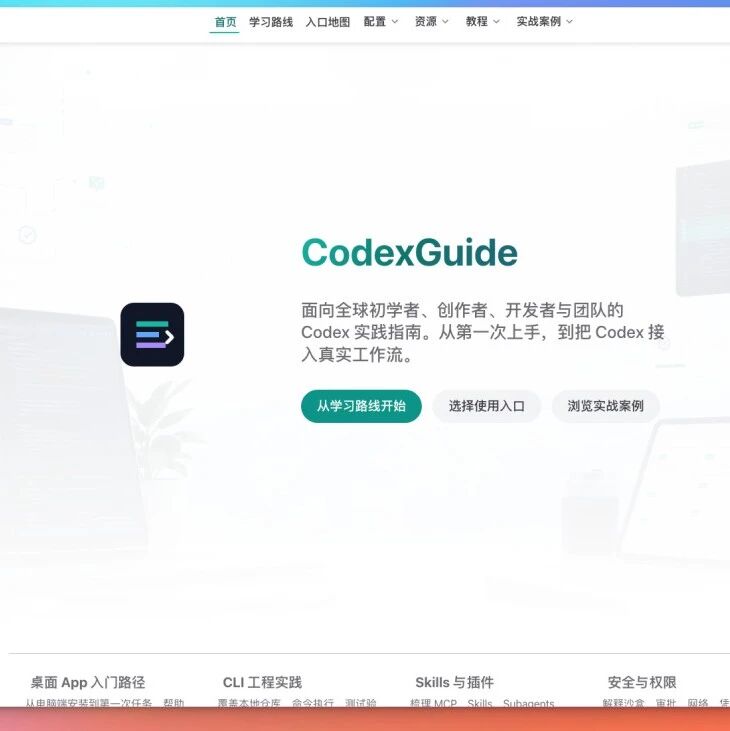
The Complete Codex Guide: Getting Started Plus Three Ways to Use It from China
An open-source, free hands-on Codex guide is out, covering desktop installation, remote control from your phone, and three access paths for users in China, helping you get OpenAI Codex running from zero.
OpenAI's Codex is one of the most powerful AI coding assistants today, but many people stall at the "actually using it" step: account registration, topping up Plus, network conditions, config files — any single link in the chain can scare you off. This article settles two key questions at once: how to use Codex, and how to use Codex from within China.
What Codex Is and Where Its Entry Points Are
Codex is OpenAI's AI coding agent, capable of autonomously writing code, debugging, and manipulating files in your local environment. It has four main entry points:
- Codex CLI: a command-line tool for developers who live in the terminal
- Codex desktop app: a graphical interface with the strongest engineering capabilities, supporting Computer Use and browser control
- Codex IDE extension: used inside editors such as VS Code
- ChatGPT mobile: connects from the phone app to your desktop or a remote dev box, so you can approve and adjust tasks from anywhere
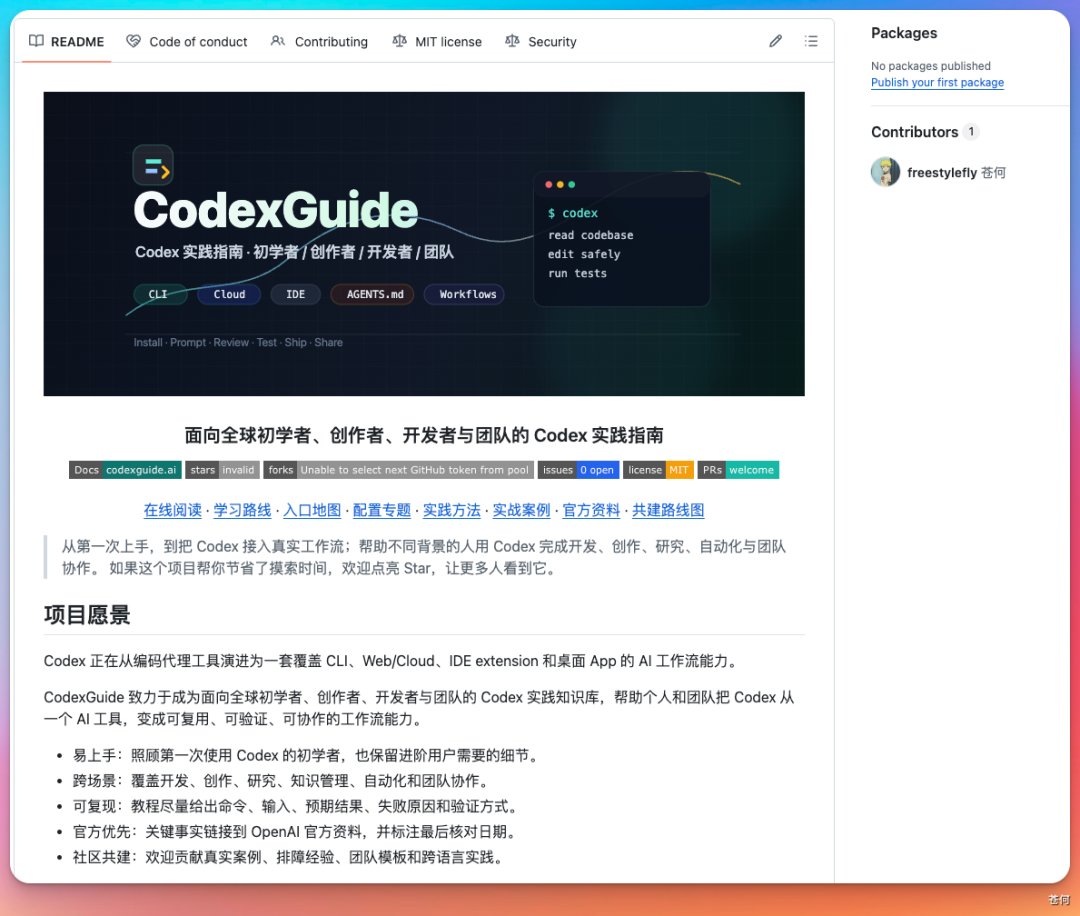
The open-source project CodexGuide is organized in four layers — "know the entry points, get tasks running, build a methodology, accumulate team knowledge" — covering everything from CLI basics to advanced desktop usage.
What to Prepare Before You Start
- An OpenAI account (register at chatgpt.com)
- A ChatGPT Plus subscription ($200/month, required for the Codex desktop app)
- macOS or Windows (for the desktop app)
- A stable network environment
If you are in China, topping up Plus has hurdles; three alternative approaches are given later.
Step 1: Install the Codex Desktop App
Find the desktop download link in the tutorial provided by CodexGuide, install, and sign in with your GPT account. Once you subscribe to Plus, full functionality unlocks, including the plugin system and Computer Use.
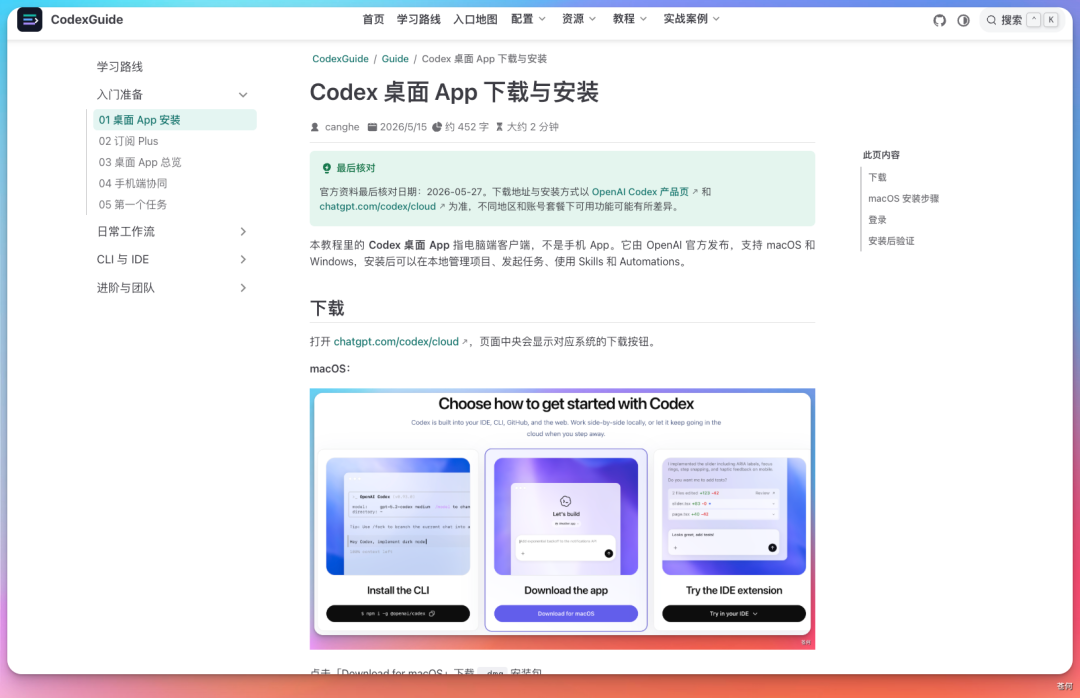
CodexGuide includes a detailed tutorial for subscribing to Plus, sparing you the hassle of asking someone else to top up for you — your own account is more stable.
Step 2: Remote Control from Your Phone
Codex's mobile entry point is actually the Codex entry inside the ChatGPT phone app. It is not a standalone app; it lets you connect, while away from your computer, to a running Codex instance to keep viewing, approving, and adjusting tasks.
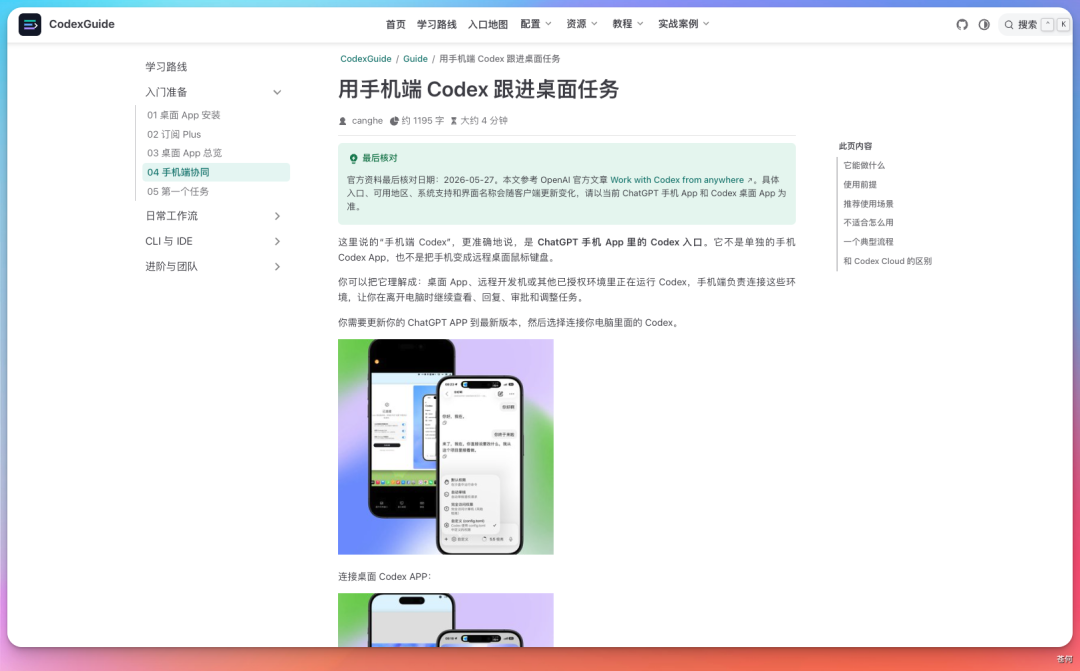
Once configured, you can pretty much direct the Codex running on your Mac from your phone, from anywhere.
How to Use It from China: Three Approaches
If you are in China, both paying for Plus and network access pose hurdles. The three approaches below are ordered by increasing difficulty — pick the one that fits you.
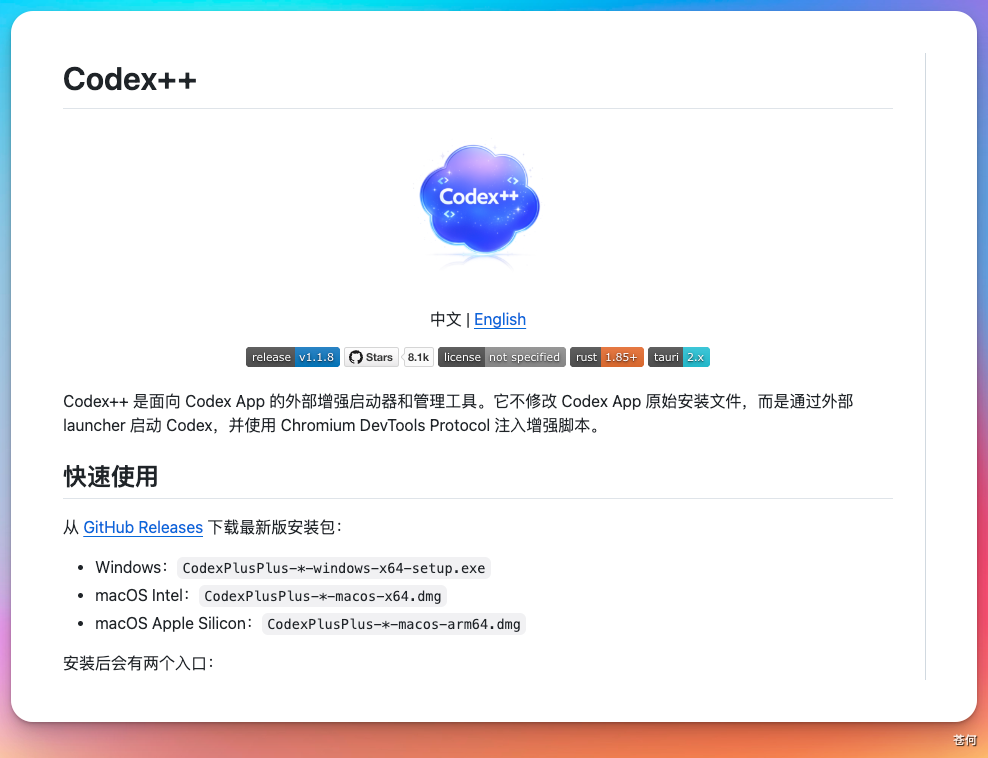
Option 1: Codex++ (recommended for beginners)
Codex++ is a graphical management tool that gets third-party API configuration done in one click. No hand-writing config files, and plugin functionality is supported.
Steps:
- Download the two installers from the Codex++ Releases page: the "management tool" and the "Codex++ app"
- After installing, open the management tool; if macOS flags a security restriction, go to "System Settings" - "Privacy & Security" and click "Open Anyway"
- Under "Provider Configuration", add your third-party API provider (Base URL and Key), choosing "API only" as the access method
- Launch Codex from the Codex++ entry point (not the original Codex)
Once configured, you will see Codex running with your custom model provider, a much larger selection of models, and plugins working normally.
Option 2: Manually Editing config.toml
This approach suits developers who want to understand the underlying configuration. The core is editing the ~/.codex/config.toml file.
Back up first:
cp ~/.codex/config.toml ~/.codex/config.toml.backup
cp ~/.codex/auth.json ~/.codex/auth.json.backup
Edit the config file:
model = "gpt-5-codex"
model_reasoning_effort = "high"
disable_response_storage = true
preferred_auth_method = "apikey"

[model_providers.ciyuan]
name = "ciyuan"
base_url = "https://ciyuan.today/v1"
wire_api = "responses"
env_key = "OPENAI_API_KEY"
requires_openai_auth = false
Set the environment variable:
export OPENAI_API_KEY="your API key"Launch the Codex app from the terminal (on Mac you must launch it from the terminal):
open -a CodexA few easy-to-trip points:
model_providermust exactly match thexxxinside[model_providers.xxx];base_urlstops at/v1; keepwire_apias"responses"— do not change it.
Option 3: CCX + CC Switch (multi-provider gateway)
If you have multiple API providers to switch between, or your upstream only supports Chat Completions and not the Responses API, you can use CCX for protocol conversion and CC Switch for one-click switching.
This approach involves more components and suits developers with some proxy experience.
Hands-On Case References
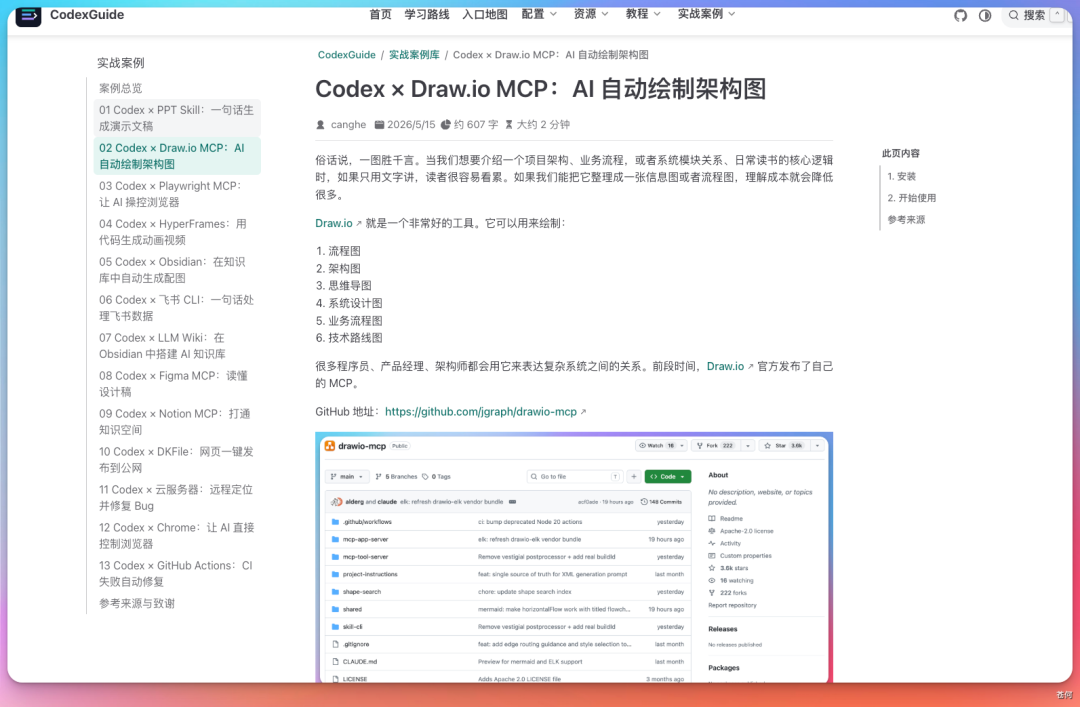
CodexGuide also collects 13 typical hands-on cases worth trying:
- Codex x Draw.io MCP: have AI draw architecture diagrams automatically
- Codex x GitHub Actions: auto-fix failing CI
- Codex x Obsidian: build an AI knowledge base in Obsidian
Resource Links
- CodexGuide open-source project: GitHub repository
- CodexGuide online reading site: a better reading experience
- Codex++ download: the GitHub Releases page
- Codex official documentation: OpenAI's latest official docs
Frequently Asked Questions
- Launching from the dock icon on Mac can't load models — what now? You must launch from the terminal with
open -a Codex - How to troubleshoot auth errors? First check the
model_providername,base_url, and environment variables; if things break, switch back to your backup config first - What if the upstream doesn't support the Responses API? Use the CCX gateway for protocol conversion, or switch to a provider that supports the Responses API