
AutoMIA: Two Images In, a 3D-Printable Mirror Illusion Out — Runs on a Single RTX 3090
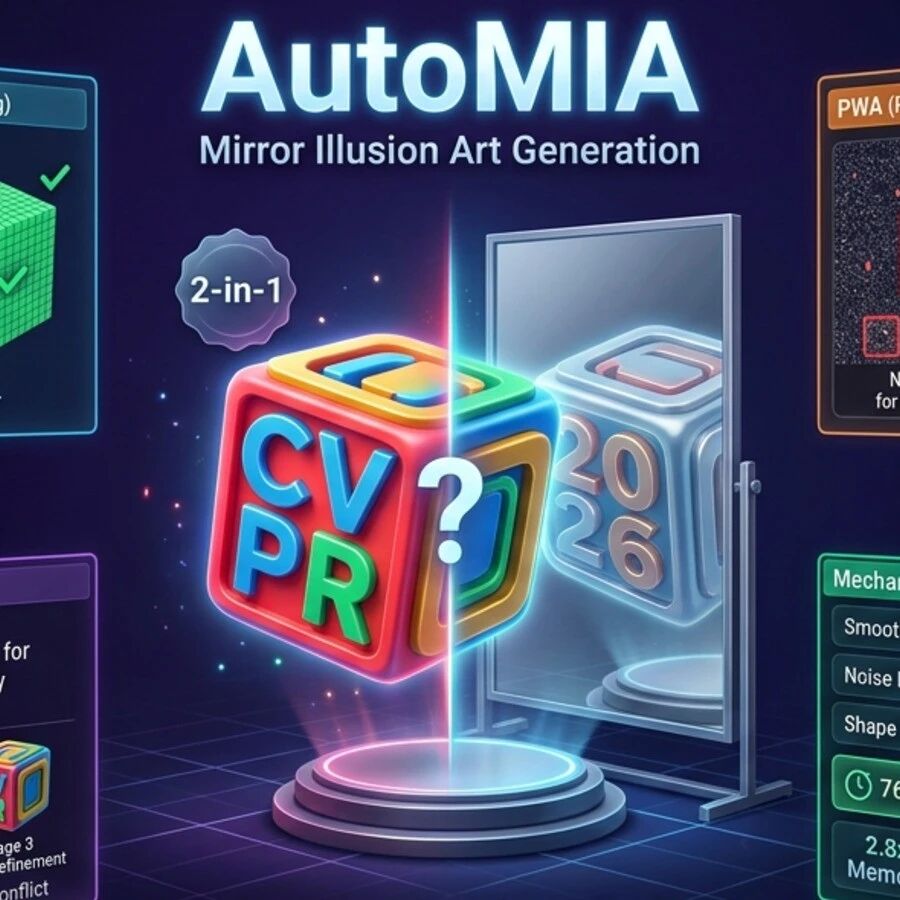
AutoMIA, a Tsinghua CVPR'26 Highlight open-source project, turns two input images into a 3D-printable voxel mirror-illusion art model (STL-ready) — single RTX 3090, 76 seconds per design.
AutoMIA: Two Images In, a 3D-Printable Mirror Illusion Out — Runs on a Single RTX 3090
AutoMIA, a Tsinghua CVPR'26 Highlight open-source project, turns two input images into a 3D-printable voxel mirror-illusion art model (STL-ready) — single RTX 3090, 76 seconds per design.
The mirror illusion is an ancient art form — you see one figure from one angle, and a completely different figure from another. AutoMIA automates it: feed in two images, get out a voxel mirror-illusion model ready for direct 3D printing (STL-ready). It comes from Jun Zhu / Xiaolin Hu's lab at Tsinghua (first author Xiaopei Zhu) plus Zeyuan Li at Huazhong University of Science and Technology, was accepted to CVPR 2026 as a Highlight, and won an Efficient CVPR Award. Most importantly: it runs on a single RTX 3090, and one design takes 76 seconds.
If you work in creative coding, 3D printing, installation art, or visual design, this is a practical getting-started guide.
What AutoMIA Is
AutoMIA = Automatic Mirror Illusion Art. The core problem it solves: automatically generating a 3D voxel model that presents different figures from different viewing angles, given two reference images.
Traditional mirror-illusion art is handwork — an artist iterates on the geometry again and again so that from two different viewpoints it "looks like" two different images. AutoMIA turns this process into a differentiable optimization problem: define the "looks like" objective for both viewpoints, let the voxel model satisfy both simultaneously, and search out the geometric solution automatically.
The output voxel model exports directly to STL and goes into slicing software to be printed as a physical object.
Key Facts (Officially Disclosed)
- Author affiliations: Tsinghua (Jun Zhu / Xiaolin Hu lab, first author Xiaopei Zhu) + Huazhong University of Science and Technology (Zeyuan Li)
- Academic recognition: CVPR 2026 Highlight + Efficient CVPR Award
- Paper: arXiv:2607.02015
- Hardware bar: a single RTX 3090 suffices
- Speed: roughly 76 seconds per design
- Memory usage: about 2.6GB of VRAM
- Output format: STL-ready (slices and prints directly)
Before You Start
- GPU: a single RTX 3090 (24GB) is plenty; actual usage is about 2.6GB, friendly to consumer cards.
- Python environment: set up dependencies per the repo README.
- 3D printer (optional): if you want a physical object, you'll need an FDM/SLA printer and matching slicer software (Bambu Studio, Cura, etc.).
- Two reference images: the two figures you want the model to present from two different viewing angles (say, a cat from the front and a dog after a 90-degree turn).
Project repository: https://github.com/zxp555/AutoMIA Paper: https://arxiv.org/abs/2607.02015
Step 1: Clone the Repo and Install Dependencies
git clone https://github.com/zxp555/AutoMIA.git
cd AutoMIA
Install the Python dependencies per the README (typically including PyTorch, numpy, trimesh, and other libraries for voxel operations and STL export).
Step 2: Prepare the Two Reference Images
Save each of the two figures you want to present as its own image. Suggestions:
- High-contrast, clean-outlined silhouettes or shapes work best.
- Simple subject + clean background, to keep noise from interfering with viewpoint projection matching.
- Plan the "primary axis direction" of the two images in advance (which one faces front, which one faces side).
Step 3: Run Generation
Run the entry script provided in the repo README, passing in the two reference image paths, the voxel resolution, and other parameters. Generation takes about 76 seconds (measured on an RTX 3090); when it finishes you get a voxel model + STL file.
💡 Tip: Iterate fast at low voxel resolution first — confirm both viewpoints recognize their target figure — then raise the resolution for the final piece. Low-resolution iterations are cheap; high resolution brings out the detail.
Step 4: Export and 3D Print
Drop the generated STL file into slicing software (Bambu Studio, Cura, PrusaSlicer, etc.), slice, and print as usual. Once printed, place it in a corner where two walls each carry a mirror — the classic mirror-illusion display: each mirror presents one of the figures.
Use Cases
- Creative coding / installation art: plug AutoMIA into a generative creative pipeline and produce illusion art installations in batches.
- 3D-printing hobbyists: an entirely new printable art category; the output itself is a consumer product.
- Visual design and brand materials: physical marketing pieces, exhibition installations, interactive experience design.
- Teaching and outreach: a hands-on prop for demonstrating visual illusions, differentiable optimization, and voxel modeling.
FAQ
- Neither viewpoint recognizes its target figure in the result: check the reference images — cluttered backgrounds, a low-contrast subject, or a muddled primary-axis plan are the most common causes. Retry with simpler silhouette images.
- STL print fails: the voxel model may contain thin walls, overhangs, or floating parts; inspect it in the slicer and add supports before printing.
- VRAM exceeds 2.6GB: lower the voxel resolution; that figure is the measured value under the RTX 3090's default configuration.
- More than two viewpoints (>2 figures): the current version focuses on two-viewpoint mirror illusions; multi-viewpoint extension means adapting the method in the paper yourself.
Final Thoughts
AutoMIA is one of those "small but beautiful" open-source projects: academically it took a CVPR 2026 Highlight + Efficient Award; engineering-wise it's extremely friendly to consumer hardware (single 3090, 76 seconds, 2.6GB of VRAM); and its output prints directly into a physical object. If you have a 3D printer and an RTX 3090 at hand, pull it down and run it once — printing a little "looks right from both sides" sculpture yourself is far more fun than reading the paper.
Official resources: