
Making Long AI Videos with Image2 + Seedance 2.0: A Brand-Ad Walkthrough
A complete pipeline from asset preparation to edit and assembly, teaching you to produce a 115-second brand-ad long video with an AI toolchain, solving core pain points like face drift and inconsistent scenes.
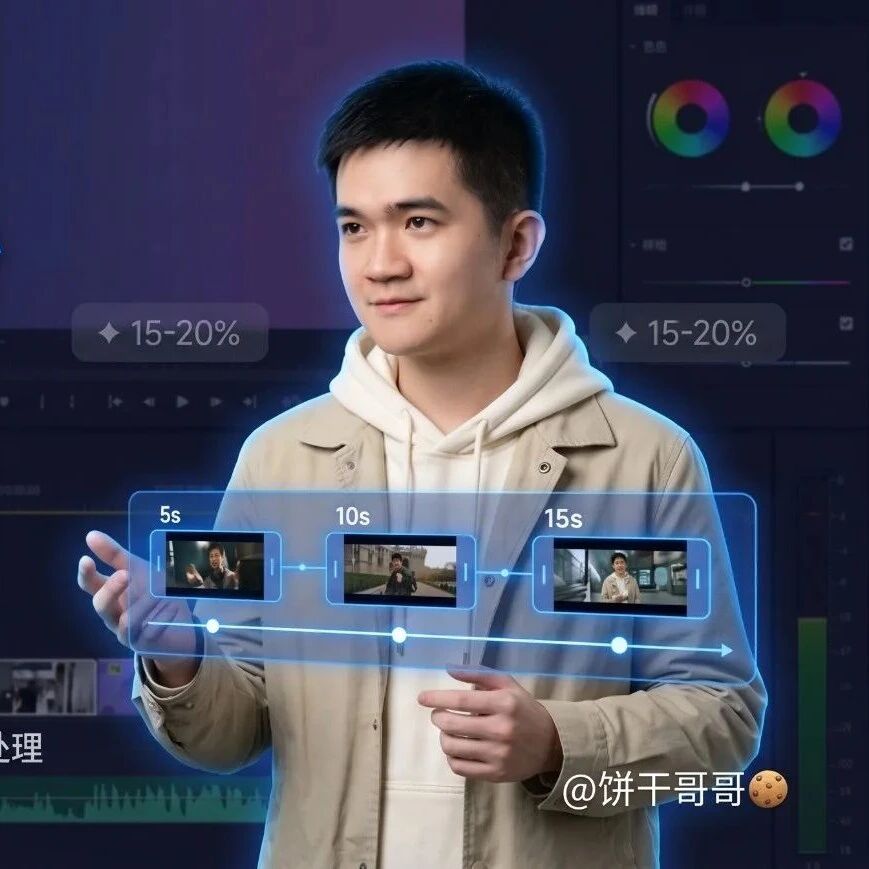
Making Long AI Videos with Image2 + Seedance 2.0: A Brand-Ad Walkthrough
A complete pipeline from asset preparation to edit and assembly, teaching you to produce a 115-second brand-ad long video with an AI toolchain, solving core pain points like face drift and inconsistent scenes.
A single AI-generated video caps out at roughly 15 seconds. Making a full long video means stitching clips together, and the moment you stitch, problems appear: faces drift, motion stutters, and scenes before and after refuse to match. This article shares a battle-tested methodology that used Image2 + Seedance 2.0 to produce a 115-second fully AI brand ad (for Laura Geller lipstick), featuring women across four age groups, with not a single frame of live-action footage.
The Core Problems and the Approach
The consistency problems of long AI videos trace back to four root causes:
- Inconsistent character design -- each segment is generated separately, so looks, lighting, and style all differ
- Inconsistent scene design -- the same scene reads differently across shots
- Crude stitching -- the wrong transition type is chosen
- Discontinuous audio -- generating in segments makes pacing and emotion drift across the piece
The approach is front-loaded assets + storyboarding + choosing the generation method per shot type + standardized editing.
Step 1: Front-Load Your Asset Preparation
Every consistency problem gets solved at this step. Prepare four categories:
Character design
Generate one full-body turnaround sheet of the character showing front, side, and back. Additionally produce a half-body version of the front view for close-ups. Prepare at least 3 expressions (neutral with mouth closed, smiling, focused frown). Generate separate detail images for clothing and accessories — the model tends to drift across segments, and reference images are what lock it down.
Scene design
First generate the empty scene with no people, locking the lighting and color tone. For the same scene, generate three shots by framing: wide (establishes the space), medium (the character's relationship to the environment), and close (details of the character or objects).
An advanced technique: first generate a 360-degree scene-orbit video, then attach that video when generating character shots and state the blocking in the prompt.
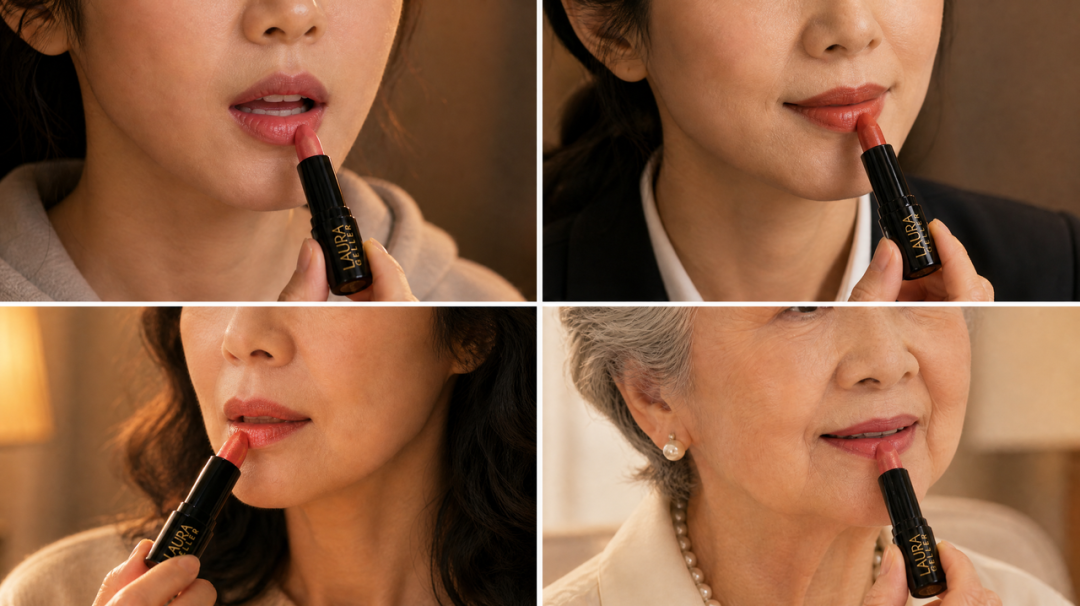
Product design
- Front view (packaging complete, nothing occluded)
- Side view (color stick or material clearly visible)
- 45-degree three-quarter view (the most-used angle)
- The product in use
- Close-up of the logo and brand typography (for stamping the brand name at the end)
Voice design
Define the narrator voice and the character dialogue voice separately — never mix them. Once chosen, generate a 30-second sample to audition and confirm, then use that same voice throughout the film.
Tool recommendations: use Doubao for image generation (cheap volume trial-and-error) or Image2 (when quality matters); for voices, ElevenLabs or MiniMax.
Step 2: Script Planning and Storyboarding
Settle the narrative structure first. The standard logic for cross-border e-commerce ads: pain point --> product appears --> proof of effect --> call to action.
Every shot must clearly specify six things:
- Framing (wide/medium/close/extreme close-up)
- What the subject does
- Camera movement (locked/push in/pull out/follow)
- Emotional tone
- Expected duration
- Whether anyone speaks
Duration standards: 5 seconds for close-ups or static shots, 5-10 seconds for medium shots with character motion, 10-15 seconds for shots that must convey complete information. Split wherever you can — the shorter the shot, the higher the utilization.
You can have DeepSeek or Gemini draft the storyboard script, then adjust by hand.
Step 3: Generating Video from Storyboards -- Pick One of Three Methods by Shot Type
Do not use the same generation method for every shot.
Method 1: Pure prompting
Suited to openers, hard cuts into all-new scenes, and shots that don't need to continue from the previous frame. Reference images still apply, but this segment is generated independently, without depending on the previous segment's tail frame.
Prompt structure: subject + behavior + framing + camera movement + style constraints + prohibitions. The prohibitions are mandatory — for example "do not carry over the visual style of the reference image."
Method 2: Storyboard mode
One prompt describes multiple frames, generating a six- or nine-panel grid in one go, each panel being a keyframe. Suited to rapid multi-shot cutting, multi-angle product showcases — passages that don't demand strict continuity.
Method 3: Tail-frame chaining
Suited to shots with continuous plot or ongoing character motion. Workflow:
- Generate the previous segment
- Import it into your editor and export it once (unifying the encoding)
- Grab the last frame
- Use that frame + a new prompt to generate the next segment
- When stitching, delete the first 1-2 frames of the next segment to prevent stutter
Pitfall alert: you cannot just grab the tail frame and use it as the next segment's first frame — the seam will show obvious color shifts and jumps. You must import the previous segment into CapCut/Premiere and export it once, then use the exported tail frame as the next segment's first frame.
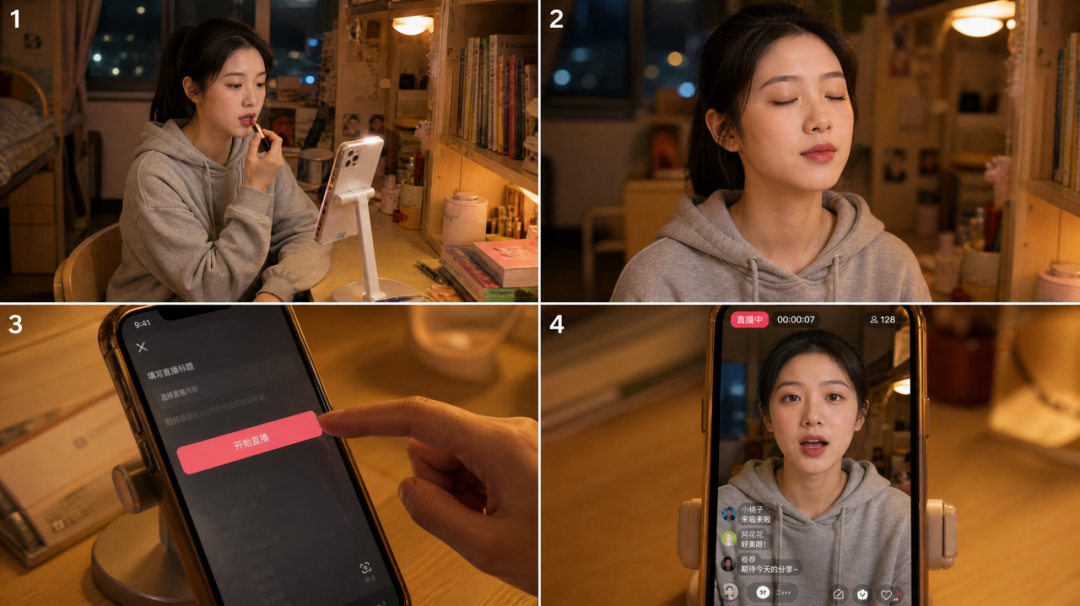
Tool recommendations: for video generation, Seedance 2.0 or Veo 3.1 give the better image-to-video results.
Step 4: Editing and Stitching
Transition-selection logic:
| Situation | Transition |
|---|---|
| Same scene, similar framing | Hard cut |
| Across scenes | Cross dissolve (0.5 seconds or less) |
| Emotional turn | Flash to white/black |
| Two segments clearly won't join | Generate a 2-3 second bridging shot |
Editing order: assemble clips in storyboard order --> check every seam one by one --> add subtitles --> score audio last. Do not record audio ahead of time — durations will shift during the edit.
Step 5: Audio Processing
Audio falls into three categories with completely different logic; handle them separately:
Narration: must be generated in one continuous take, never split line by line per shot. Splitting causes pacing, emotion, and tone to drift. The correct move is to pick the voice, generate the full script in one pass, then align it to the visuals in your editor, timing each line to the picture. Note the direction: cut the audio to fit the picture, not the picture to fit the audio.
Ambience: preferably generated alongside the video. If patching it in afterward, match it segment by segment per shot — never loop the same background track end to end.
Music: press it to the bottom, purely as atmospheric bed. Mix hierarchy: narration > dialogue > ambience > music, with music no louder than 30% of the narration volume.
Tool Checklist
| Stage | Recommended tools |
|---|---|
| Image generation | Doubao (free), Image2 (high quality) |
| Video generation | Seedance 2.0, Veo 3.1 |
| Storyboard script | DeepSeek, Gemini |
| Voices | ElevenLabs, MiniMax |
| Editing | CapCut, Premiere Pro |
Frequently Asked Questions
- How do you fix face drift? During front-loaded asset prep, produce the turnaround sheet and detail reference images, and attach the references at generation time to lock the look
- Obvious color shift at the seams? Import the previous segment into your editor and export it once, then use the exported tail frame as the next segment's first frame
- How to break the 15-second limit? Split into multiple 5-15 second clips and keep continuity with tail-frame chaining